 In my first post about preserving summer produce, I mentioned veggie anxiety — that pervasive fear we all seem to suffer from, to one degree or another, when we start to feel as if there’s no possible way to take full advantage of all the bounty of summer, and therefore it’s easier to simply do nothing and let it all go to waste than it is to figure out what in the world to do with it. Of course, I then promptly wimped out on you, in a manner of speaking, because I went straight to greens and herbs and didn’t talk about some of the more, er, PROLIFIC summer vegetables — which are likely precisely the ones you’d rather hear about.
If you haven’t yet caught up on my first preservation post, just a little refresher: This series is all about preserving summer produce in ways that DO NOT involve canning, dehydrating, fancy gadgets, or a great deal of effort. This is an ideas list that is frankly as much for myself as it is for the rest of you, because I really need to keep myself moving forward with getting some of this produce locked down and secured for the winter as well. Every year I swear I’ll do it, and every year I look at my limited freezer space and my lack of canning skills (or time), and I think….Next year. And then, in the cold weather, I’m sorry and desperately missing a taste of summer.
No more. With greens and herbs firmly in hand, I thought it best to move on to some of those horribly prolific vegetables — the kind your generous neighbors keep leaving on your doorstep in abundance because they just can’t eat any more of it. Tonight, we tackle green beans and zucchini.
1. Zucchini and/or Summer Squash.
Step One: Realize that you can treat these two items virtually interchangeably. Their flavors are not terrifically different, nor are their texture;, so unless you have a thing about color, go ahead and mix them up.
Step Two: Resist the urge to loathe the sight of one more of these maddeningly growth-happy suckers. You’ll appreciate them more after you’ve preserved them.
A) Grate and freeze in individual measurements – later, they can be used in baking or in soups, stews, and pasta sauces. If they seem extra wet when thawed, drain them thoroughly before using.
B) Make ratatouille and freeze in Mason jars.
C) Slice into planks and bread lightly, then bake or shallow-fry in a little oil of your choice. Cool completely, then freeze with waxed paper or parchment between slices. Later you can pull these out to make a quick zucchini or squash parmigiana – just layer with marinara sauce and cheeses straight from the freezer, then bake at 375 degrees for about 35-45 minutes to melt the cheese and heat everything through.
D) Bake into muffins and quickbreads, then freeze those. Try banana-zucchini muffins:
Whole Wheat Banana-Zucchini Muffins
2 cups shredded zucchini or summer squash
1/2 cup (1 stick) unsalted butter, softened (You should also be able to use coconut oil or ghee for this recipe)
2 very ripe bananas, peeled
3/4 cup pure Grade B maple syrup
2 large eggs
1 1/2 tsp. vanilla extract
2 1/4 cups white whole-wheat flour
2 teaspoons baking powder
2 teaspoons cinnamon
1 teaspoon nutmeg
1/2 tsp. salt
Preheat oven to 375 degrees. Lightly grease or line 12 muffin tins.
In a large bowl, beat together the butter, bananas, and maple syrup until smooth and creamy. Add the eggs and beat well. Stir in the zucchini and vanilla extract.
In a medium bowl, whisk together the flour, baking powder, cinnamon, nutmeg, and salt. Gradually add to the zucchini mixture, stirring just until evenly combined and moistened.
Scoop the batter into the prepared muffin tins (each should take about 1/3 cup of batter). Bake at 375 degrees for 25-30 minutes, until golden brown and a toothpick inserted in the middle comes out completely clean. Let cool before serving or storing.
2. Green beans or Pole beans
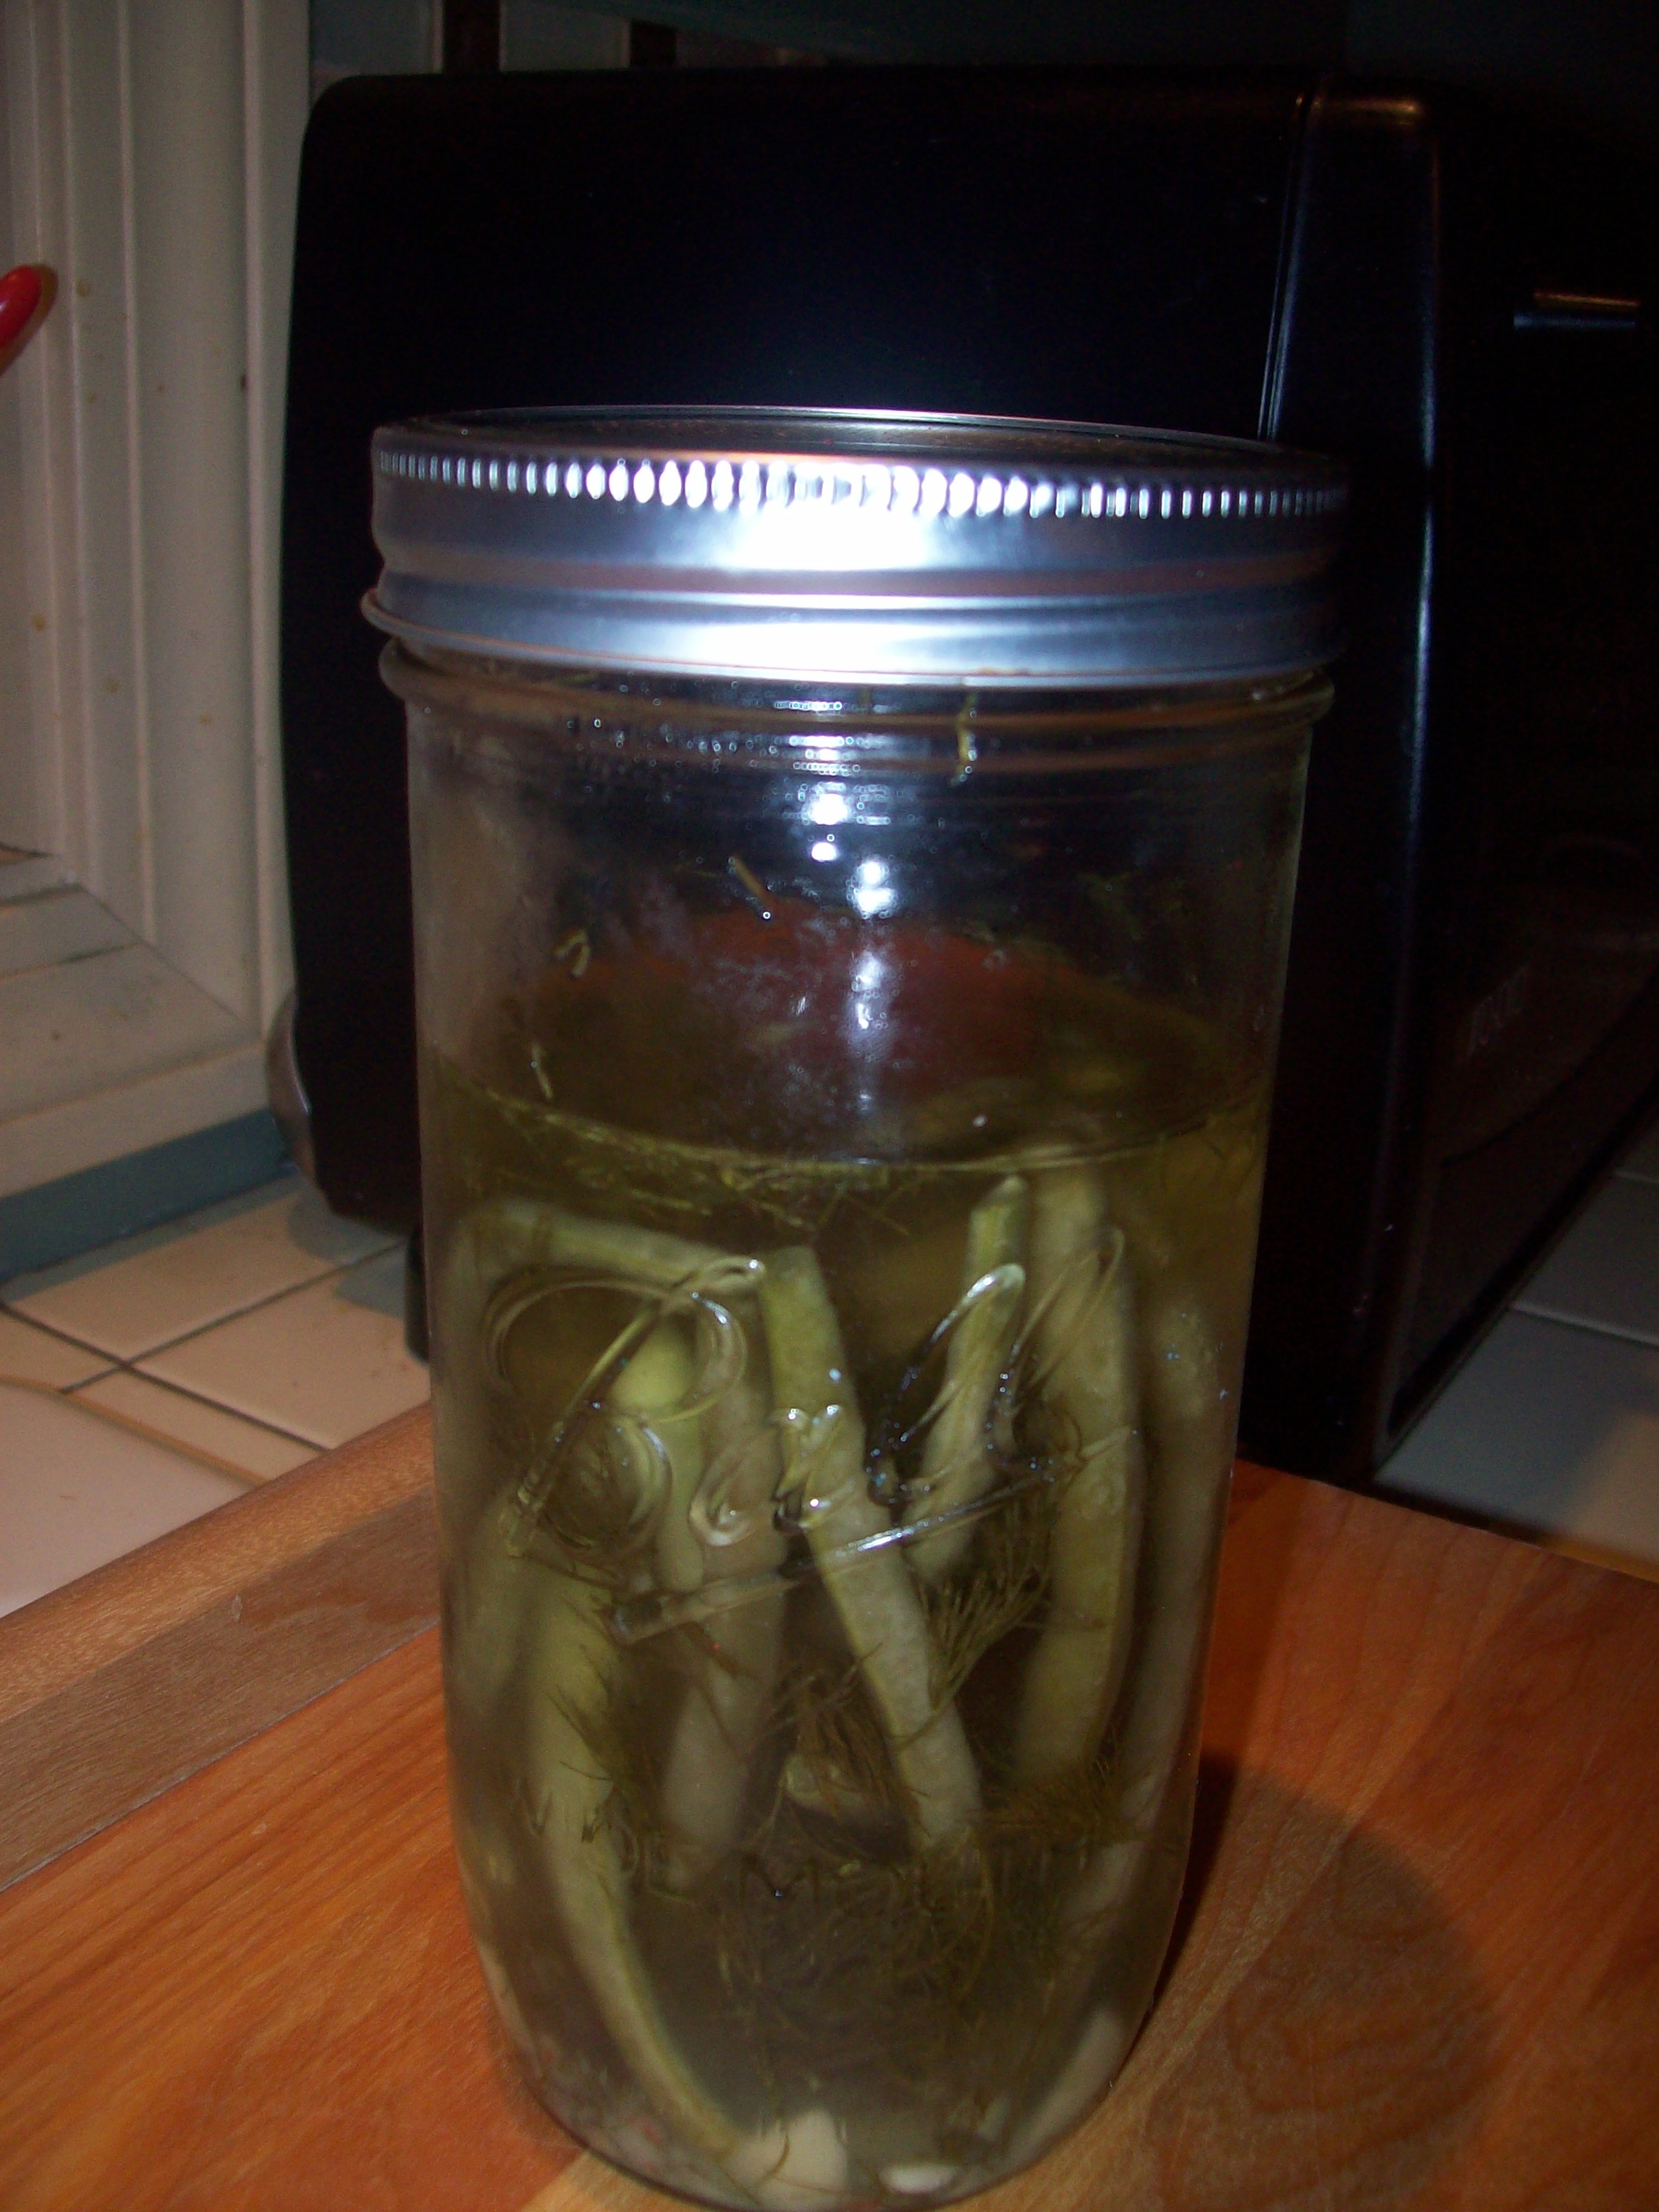
A) Make dilly beans. I’ve newly begun dabbling in lacto-fermenting, and J. and I like the results (the boys are still not quite in our camp, but I have to admit that it’s an acquired taste!) Dilly beans will keep for a few months in the fridge if pickled with vinegar, and for up to six months in the fridge if lacto-fermented. I can’t recommend a specific recipe over any other at this point, but we’ve had luck with quite a few that we’ve found just by searching on Google.
B) Blanch lightly — about a minute in boiling water ought to do it — shock in cold water, dry thoroughly, and freeze.
C) Stew with tomatoes, garlic, onions, and oregano, and freeze in Mason jars. Should be, oh..3 or 4 large tomatoes, cut in chunks, plus 2-3 cloves of garlic, 1/2 a small onion, and just about 1/2 tsp. of oregano for every pound of beans? Don’t forget a good slug of olive oil and some salt and pepper.
C) Cut into small pieces, blanch as directed above, and mix with blanched fresh corn and diced red bell peppers for an easy vegetable medley that you can freeze and use later as either a side dish or a starter kit for soup.
D) If you’re a green bean casserole fan (or even if you’re not), try making creamy green beans with bacon and mushrooms, then freezing for later.
Creamy Green Beans with Bacon and Mushrooms
1 lb. fresh green beans, ends trimmed
3 slices uncured bacon
1 tablespoon olive oil (or oil of your choice)
2 tablespoons diced onion
1 1/2 cups sliced mushrooms — cremini, button, or any you like
1 tablespoon flour (optional — you could omit it, or use arrowroot)
1 tsp. salt
1/2 tsp. pepper
3/4 cup heavy cream
In a large skillet over medium-high heat, cook the bacon until crisp. Remove the bacon from the pan, crumble, and reserve.
Add the olive oil and onion to the pan and cook for 3-5 minutes, stirring occasionally, until the onions are translucent. Add the mushrooms and cook until softened.
Sprinkle the vegetables with the flour, salt, and pepper. Cook, stirring, for 1 minute to get the raw taste out of the flour. Then gradually add the cream, stirring constantly to prevent lumps. When all the cream has been incorporated, add the green beans to the pan and cover with a tight-fitting lid. Bring the contents of the pan to a simmer and allow the beans to steam, shaking the pan occasionally, for about 3 minutes or until they begin to turn bright green.
Remove the lid, stir, and allow to cook for an additional 2-3 minutes to thicken the sauce. The green beans should still be somewhat crisp-tender. Remove from the heat, add the reserved crumbled bacon, and cool before packaging for the freezer.
With all these ways to keep your summer produce working for you throughout the winter, that old vegetable anxiety ought to be disappearing by now. Next week we’ll move on to a few more popular items, but in the meantime, feel free to leave a comment or stop by the Red, Round, or Green Facebook page for advice on what to do with your produce overload.


Ah, you’ve discovered my secret for freezing zucchini. I’ve been grating it and freezing it for years. Both my zucchini plants died this year, but that’s okay. I still have about a dozen bags in the deep freeze from last year’s bumper crop! I love to throw them in soups and stews.
[…] some darned tasty freezer sides, like the ratatouille I recommended to you when we talked about preserving your zucchini, or the green beans and tomatoes I described in the same post, when we were on the subject of […]